03/01/2015 by admin 0 Comments
FLAGSTONE PATIO… HOW TO
Several months ago I was invited to participate in the Home Depot Patio Style Challenge! I was thrilled to participate because we had no patio and this was just the…
Several months ago I was invited to participate in the Home Depot Patio Style Challenge! I was thrilled to participate because we had no patio and this was just the motivation we needed to build one! We only had about three weeks to pull this off so we got to work right away!
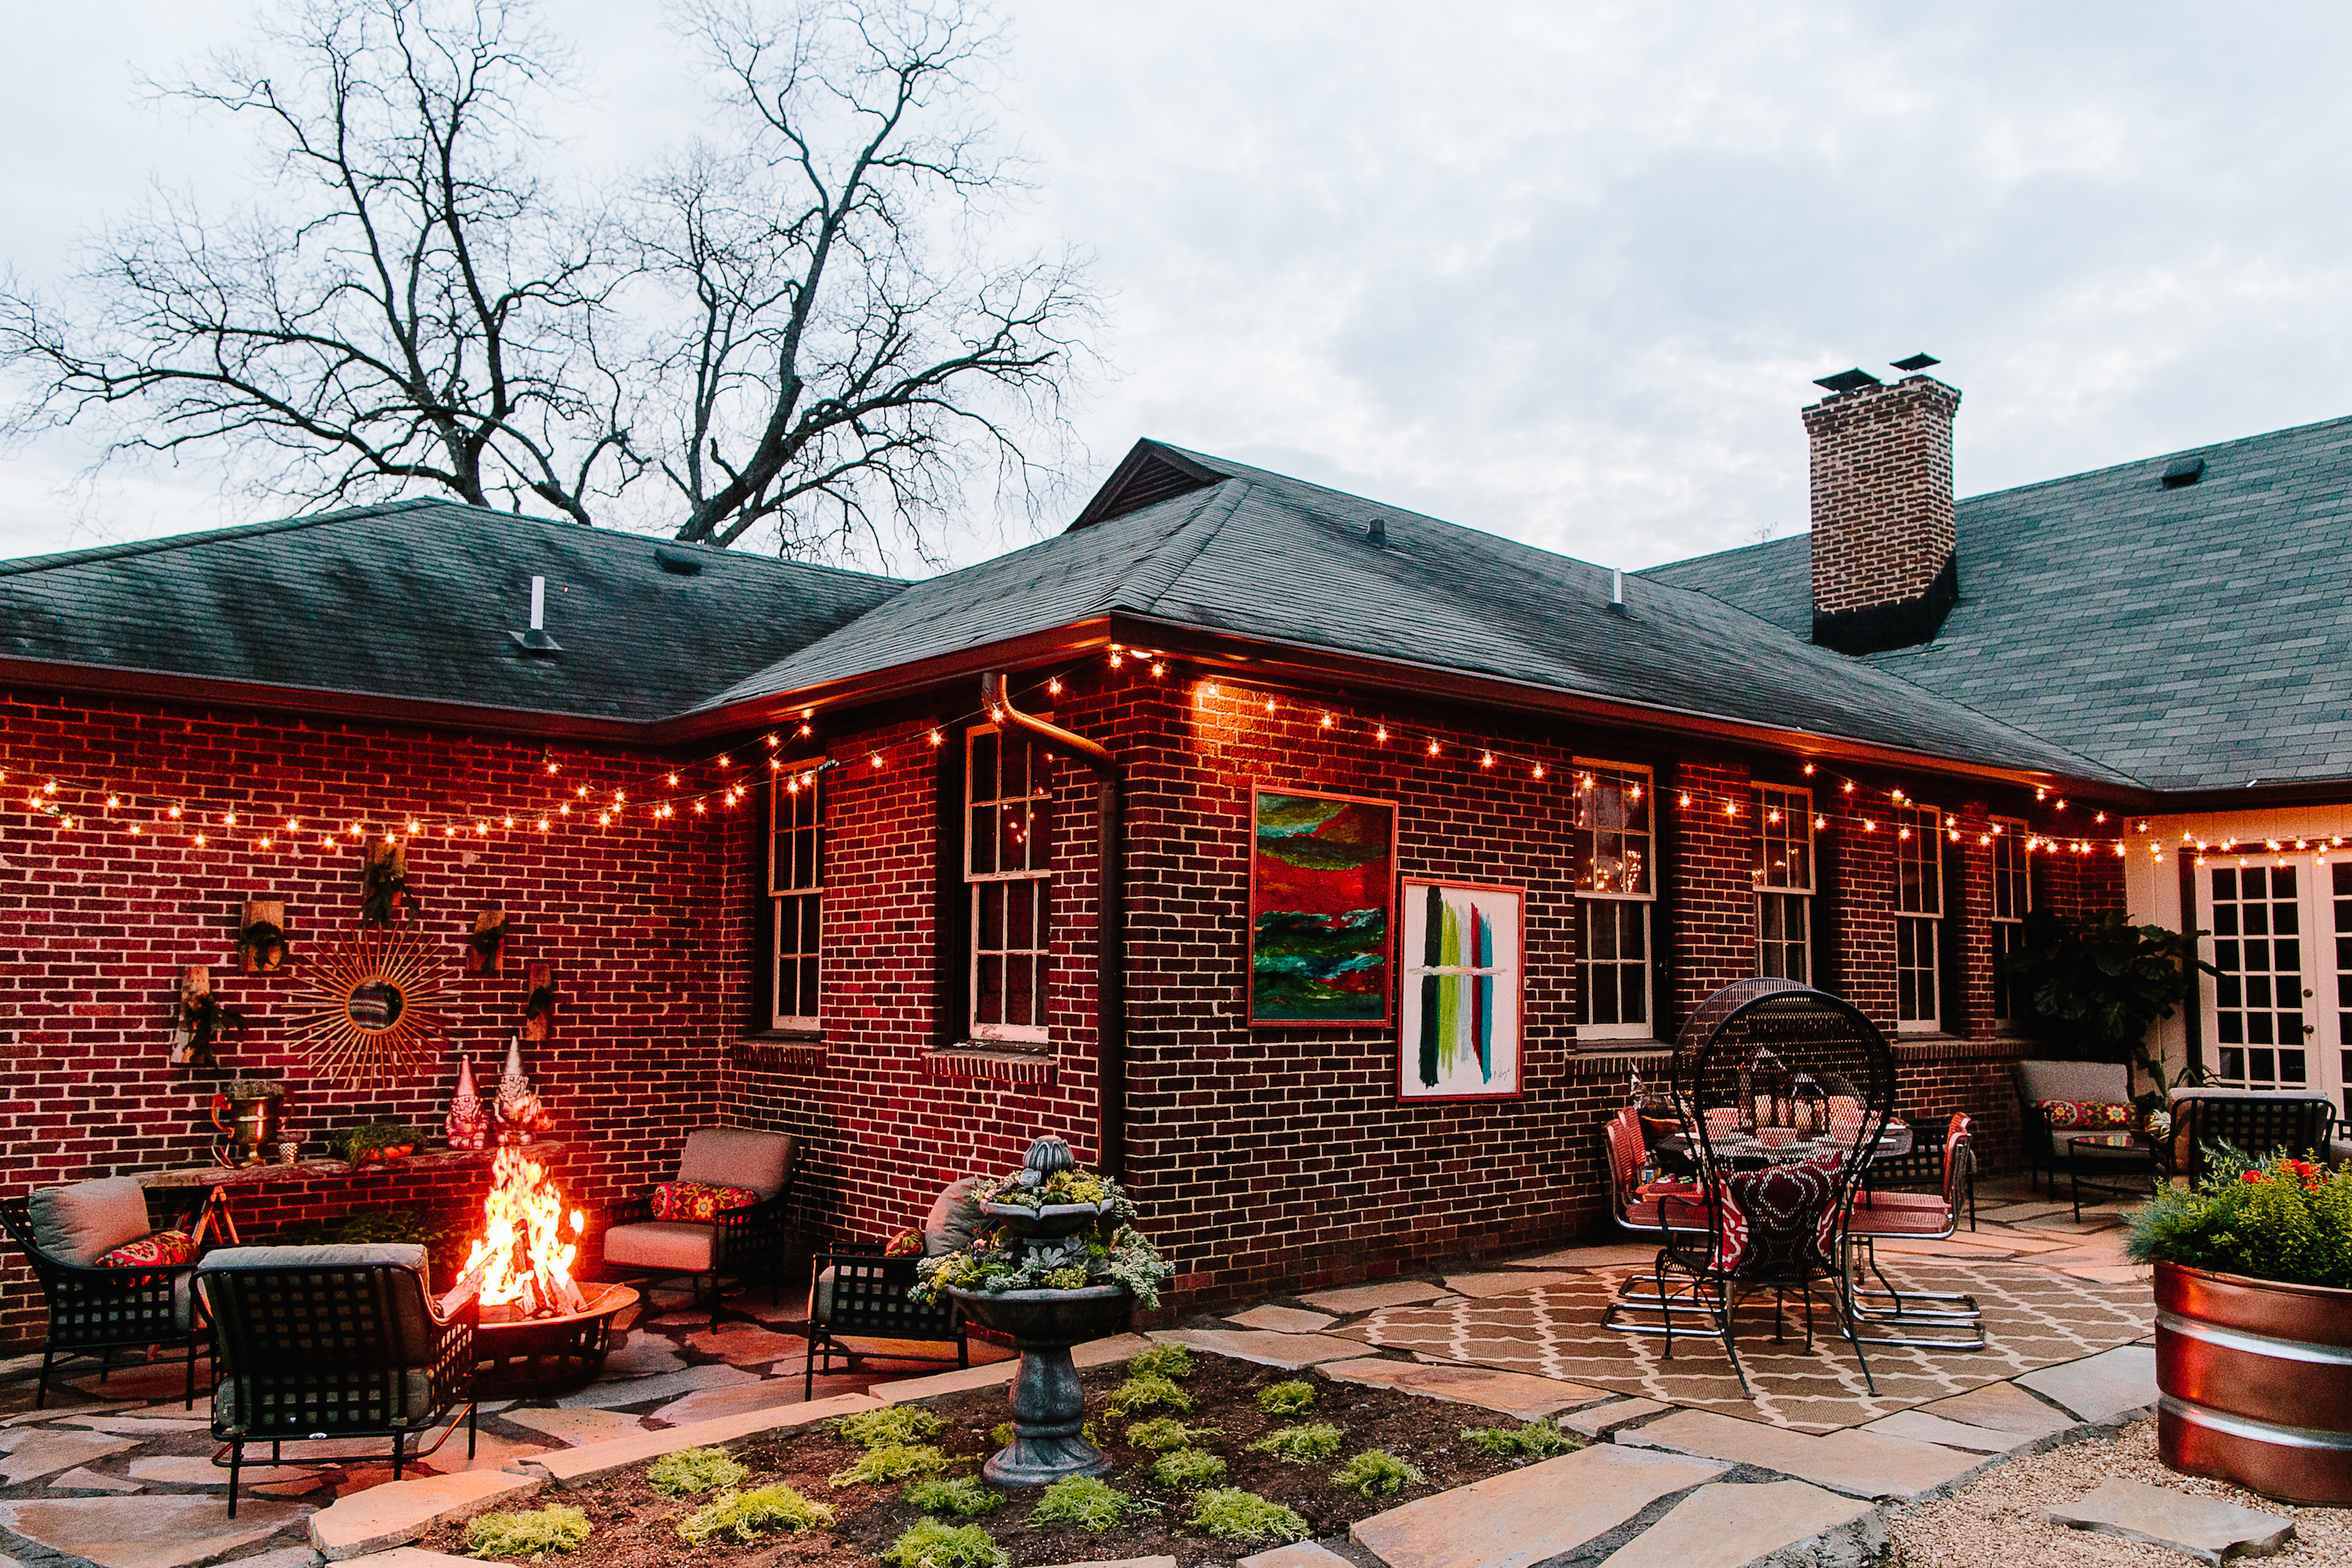
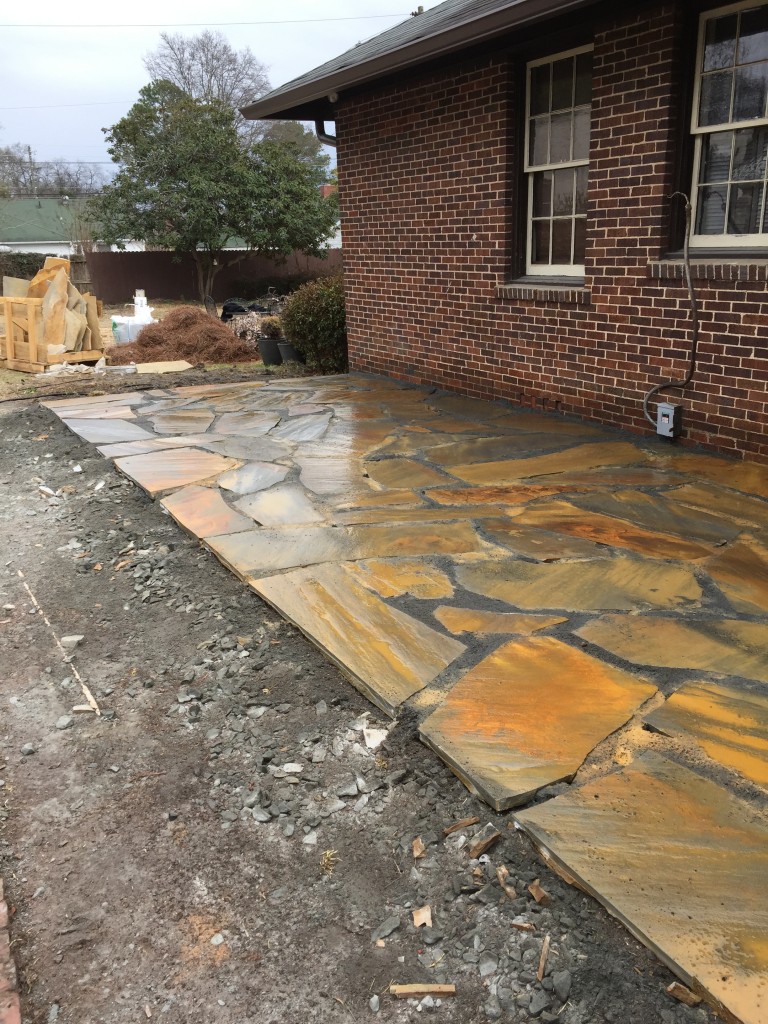
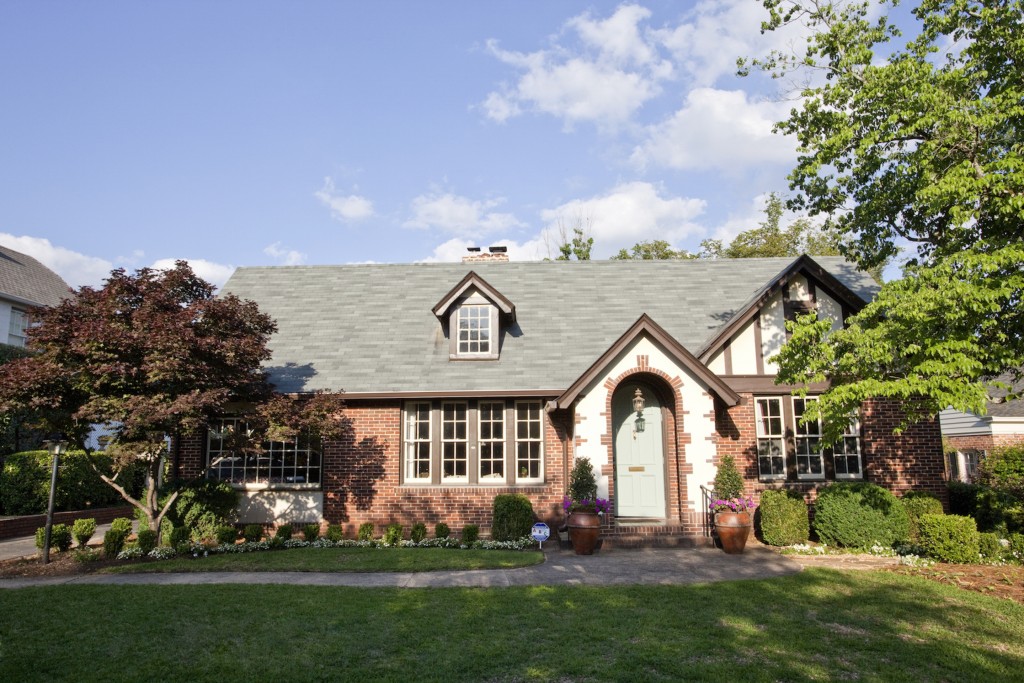
Our house is an english tutor cottage, so I knew I wanted to do a natural looking patio that would be in keeping with the style of the house.
We’ve been dreaming of building a patio for a while now, so I had a lot of inspiration photos of the overall aesthetic I wanted to create… now we just had to figure out how to make it happen!
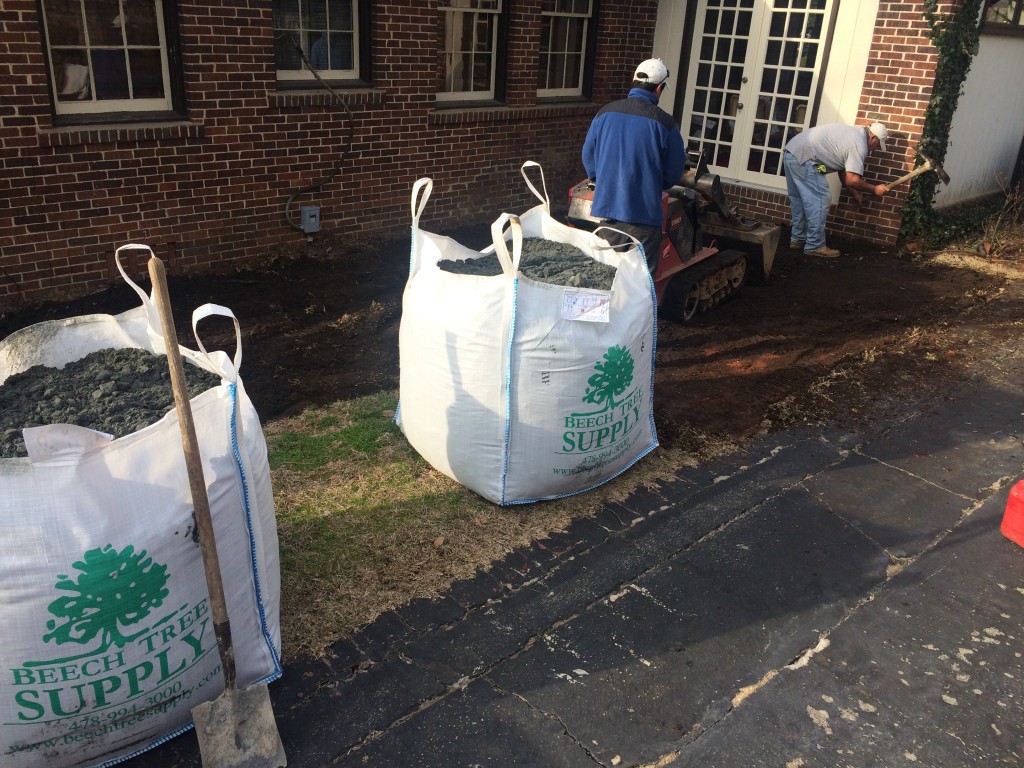
We got all of our materials from a local landscape supplier Beech Tree Supply. The owner Brad was a huge help… he got us set-up with everything we needed to make this happen, and told us exactly what to do!
I learned while researching for stone that the more grey the stone has in it the stronger it is… something to keepin kind when making your selection.
I discovered that laying a stone patio is a lot like installing bathroom tile. In short, you start by creating a level base with a gradual grade for drainage, make sure each piece of stone is level in the setting agent, and lastly fill in the joints to lock it in.
Here are the details…
STEP 1: GRADING
We used a Toro Dingo to grade and level out the area for our new patio. This equipment can be rented for the day from your local tool & equipment rental. It’s important to make sure that you have level ground so the flagstone won’t crack from the pressure of an uneven surface. It’s equally as important that you have a gradual grade going away from your house so that water will run off and not puddle.
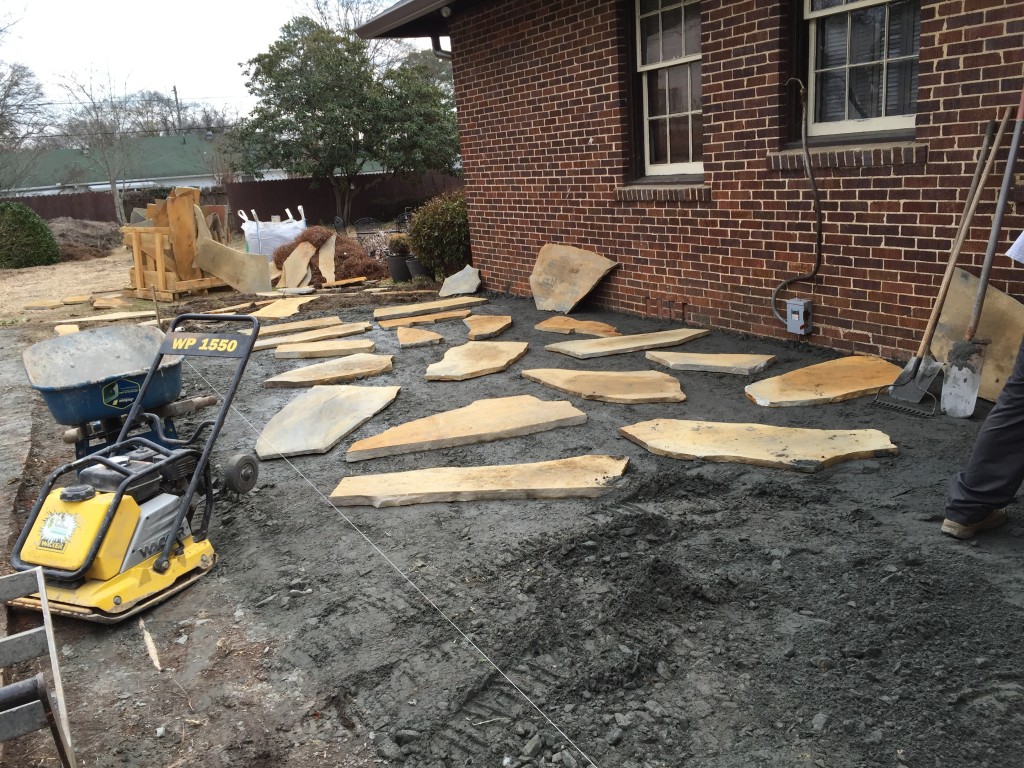
STEP 2: CREATE A BASE
We dug about 6” below the finished grade level with the Dingo, then packed it down with a tamper… this equipment is available to rent at your local Home Depot!
Once we got the sub-grade pretty level, we shoveled on about 5 inches of crush-n-run and leveled it with the tamper.
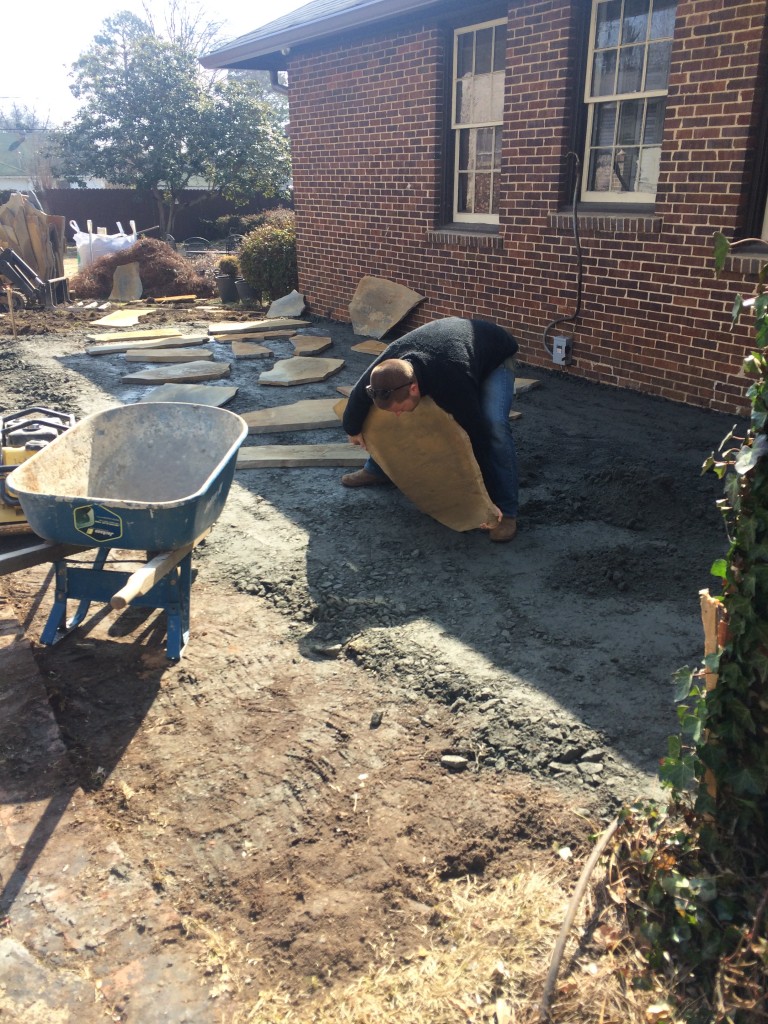
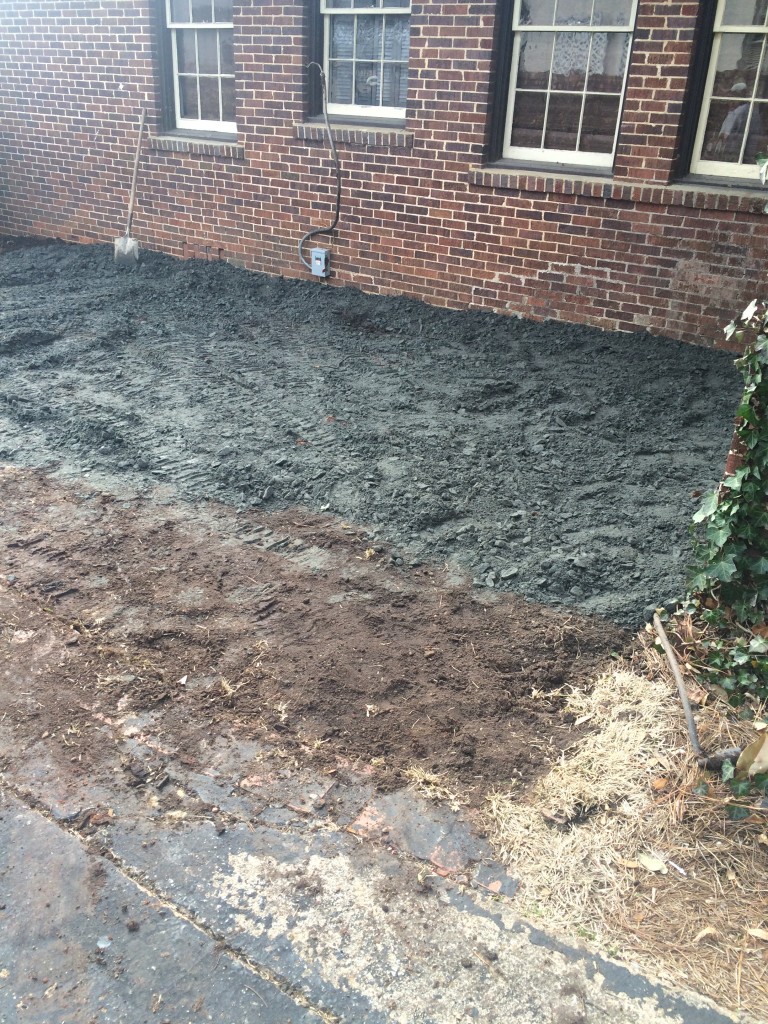
STEP 3: SPREAD THE SETTING BED
Since we want grass to grow between our rocks we used granite dust to set the stone as opposed to a mortar.
Spread a 1 inch layer of granite dust over the crush-n-run to bring it up to the finished grade level, smooth it out with a shovel as much as possible.
STEP 4: LAY YOUR STONE
Set the stones in the granite dust by shifting them back & forth so that they settle into the granite dust a bit. If a stone wobbles level it out by adding or taking away granite dust underneath the stone as needed. Lastly, firmly tap the slab in the center and around the edges with a rubber mallet to set it into place.
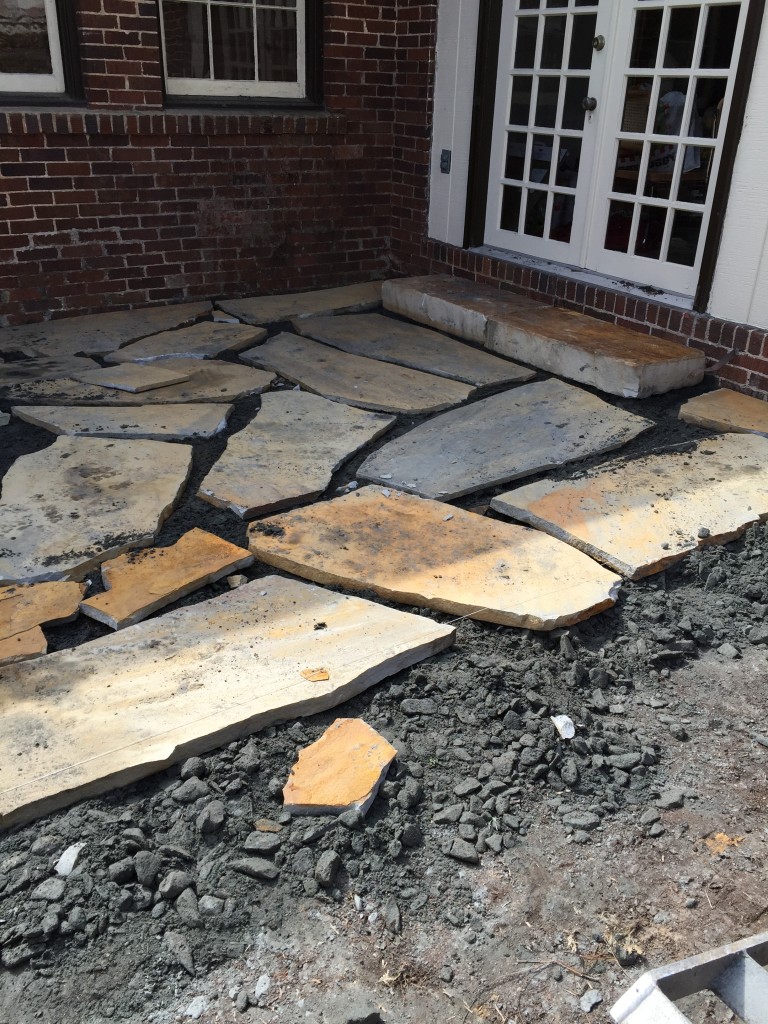
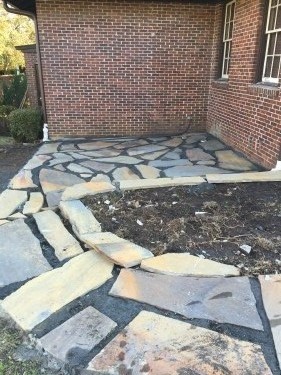
STEP 5: EDGE THE PATIO
Because the flagstones have irregular edges we used a wet saw to cut a straight edge. To ensure that the stones stay in place we mixed mortar and smoothed it along the outside edge to lock it in.
STEP 6: FILL THE JOINTS
Shovel granite dust over the stones and sweep it into the cracks and along the edge.
Using a water hose, lightly spray the joints which will cause the granite dust to settle and pack firmly.
Repeat these steps until the joints are tightly packed and level with the face of the stone.
Your last step is to gently sweep the excess dust off of the flagstone once it has dried.
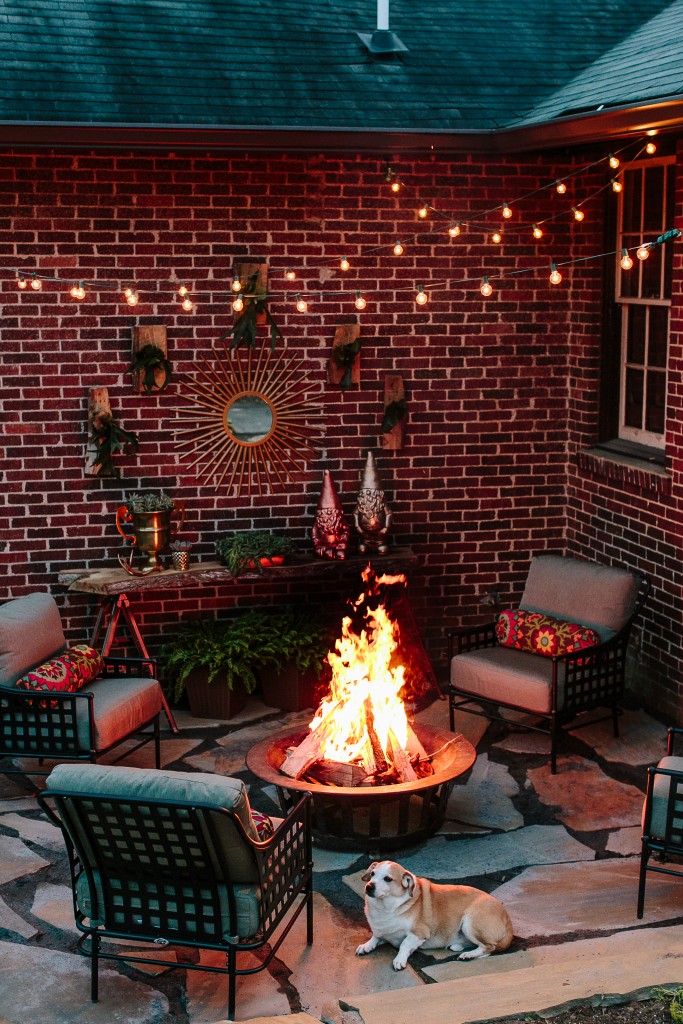
Now place your furniture and bring out the refreshments, you are ready for your first patio party!


Comments
Leave a comment